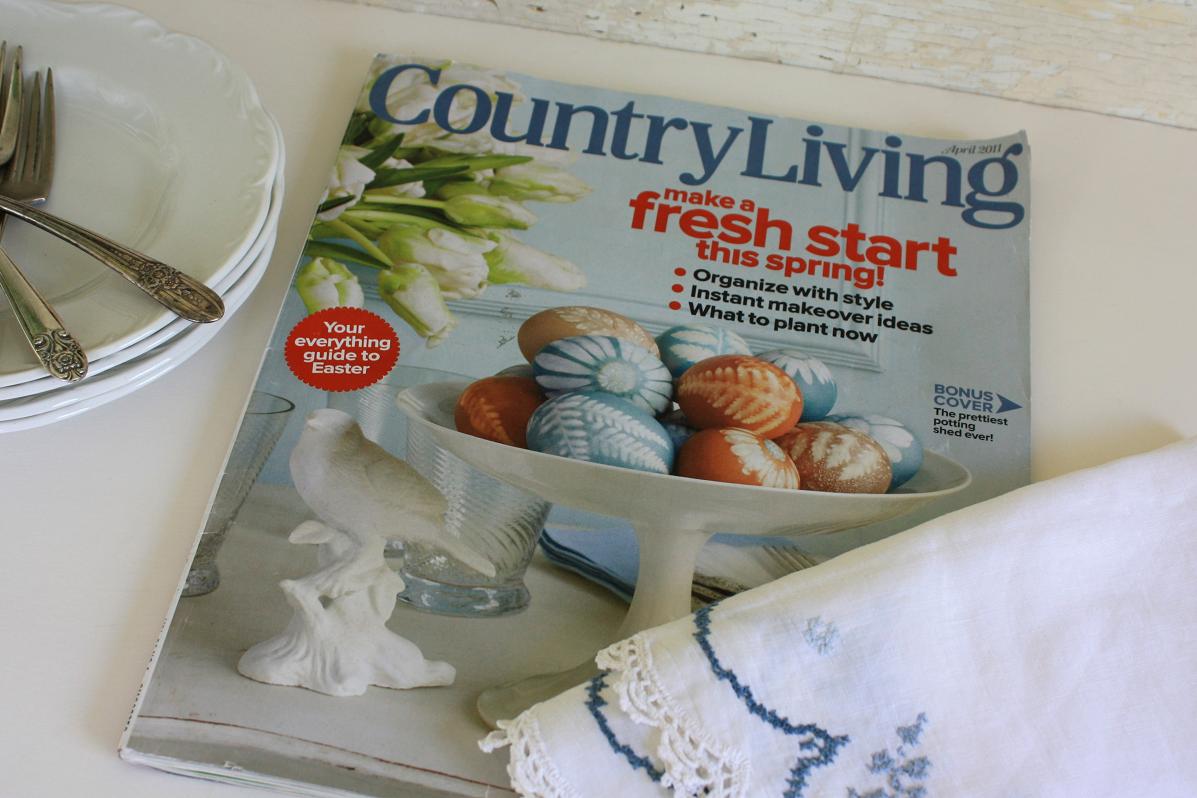
Prior to this pretty project, it had been many years since I had dyed eggs.
And, sadly, the last time involved nothing more than plopping little tablets in cups of water
and vinegar, waiting for the tablets to dissolve, and merely dipping
plain eggs into the pastel solutions.

But...
receiving this issue of Country Living, spring of last year,
forever changed the way I perceive egg dyeing.
Being even more health conscious now, than I was years ago,
made the thought of using natural materials for dyes quite appealing.
And the artistic aspect of this project was an added plus.
If you would like to know how I achieved the results that you see above,
follow along, and I'll walk you through the process.

The first thing you'll want to do is to
collect the tools necessary to accomplish the task.
Tools:
A cutting board and sharp knife for chopping food and plant materials
Pots large enough to accommodate water and the dye materials
Lids for the pots—to prevent excessive evaporation
A measuring cup
A strainer
A slotted spoon
Coffee filters
Small bowl and small pastry brush (optional)

You will also need:
Scissors
Knee highs or panty hose, cut into 3-4" sections
Twist ties

Since I wanted my eggs to be as close to the colors on the magazine cover as
possible, I followed the link referenced in the article to
find out exactly what plant or food materials were used for the dyes.
The link lead me to blogger Sonia Bauer. It was there that I discovered
that Sonia had used red cabbage, yellow onion skins, and cranberries to achieve
the earthy colors shown on the eggs in the magazine.
While I found Sonia's instructions helpful,
being the "exacting" person that I am, I needed more
precise measurements for the dyes.
I turned to Martha Stewart for advice, and, of course,
Martha didn't let me down. As a matter of fact, she gave me the idea
for substituting strong coffee for the cranberries. ; )

There's never a shortage of plant material when you live on
the edge of national forest, so gathering natural elements for
decorations for this project was a cinch.
Well...
except for the daisies. Mine aren't blooming yet,
so I decided to try the faux variety.
Big mistake!
I counted on the faux daisies to be coated with a waterproof substance.
Turns out, it was more like a water-resistant substance...
AND
definitely NOT a vinegar-based-dye-proof substance.

Everything I read stated that white eggs were the best for dyeing.
Any other color alters the appearance of the dye.
That made sense to me, so I went with it.

I followed the formulas on Martha Stewart's site for making the red cabbage
and coffee dyes. As for the yellow onion skins, I only used the skins from two large
onions, and that worked fine for me.
I let the dye materials—red cabbage, yellow onion skins, coffee—simmer
in water for the advised thirty minutes, but felt the dye was
too pale at the end of that time.
in water for the advised thirty minutes, but felt the dye was
too pale at the end of that time.
So, I continued to let everything simmer for an additional thirty minutes.
Once I was satisfied with the depth and richness of the dye
color, I turned off the heat and removed as much of the cabbage and onion skins
from the pots as was possible with a slotted spoon.
Once I was satisfied with the depth and richness of the dye
color, I turned off the heat and removed as much of the cabbage and onion skins
from the pots as was possible with a slotted spoon.

Several sites suggested straining the homemade dyes, prior to coloring
the eggs—to strain out particles and sediment.
I discovered the easiest way to do that was by placing a coffee filter
in a large strainer and gently stirring with a spoon. For the coffee, it was necessary
to change the filter several times.

Placement of the plant materials on the eggs was trickier than
I had imagined it would be.
Stretching the stocking fabric around the egg—to keep the decoration in place—
caused the plant materials to bunch up as I stretched the stocking.
Since I wanted to keep everything as natural as I could, I didn't want to use
any sort of glue to hold the plants in place.
Then I had the idea of using a bit of egg white diluted with water
as a means of temporarily adhering the plant to the egg.
That's where the small dish and brush came in.
And believe me, a little of that homemade glue goes a long way!

I also discovered that I could place the plant right-side up or down—
whichever was easiest...
and looked the best.

Once I had the plant or flower on the egg, I wrapped a piece of the
stocking material around and secured it with a small piece of twist tie.

Before cutting off the excess stocking material, I turned the egg over
to make sure I was happy with the plant placement.
The area of the egg where you pull the stocking together and tie it off will
leave a unique star design once the egg is dyed.
I thought that was an interesting side effect.

Though I used the Color Glossary on Martha Stewart's site as a reference
for the length of time to leave the eggs in the dye, I checked every five
minutes or so—after the first twenty minutes—to keep the
color from getting darker than I wanted.
As soon as I was satisfied with the color, I removed the eggs
with a slotted spoon and placed them on a paper towel-covered plate,
where I gently patted them dry.
Once they were cool enough to handle, I carefully removed the
stockings and plants from each egg.

I discovered that I liked best the designs created by the
plants with many multiple fronds, leaves or petals.
Those with a single broad surface area—like the miniature violets—
were not as pleasing in the end.

I found that using faux flowers was possible, but much more time-consuming.
The dye bled through the flower fabric and left only a faint outline.
The image that you see here was the result of
painstakingly rubbing away the dye to reveal a clearer image.
To do that, I saturated a Q-tip in white vinegar, squeezed most of it out, and ever so
gently removed the dye until a distinct flower became apparent.
Obviously, using the real deal would have saved much time and grief.
Live and learn, right?! ; )

Though this process is much more involved than the drop, dissolve,
and dip method, the final product is quite rewarding.
Here are a few other tips I learned along
the way that should make your experience
less a matter of trial and error
than mine was:
The dyes you create are just that...dyes. They stain anything they come in
contact with—hands, clothing, countertops, etc., so use caution.
To prevent eggs from cracking, make sure the eggs and the dye solution
you place them in are about the same temperature.
You can boil the eggs in the prepared dye solution—which is what I did—
or boil eggs ahead of time and use the cold dip method
(details on Martha Stewart's site).
While faux flowers and plants can be used, they create more work in the end.
Next time, I'll use the real thing!
If you use the same slotted spoon to stir or remove the eggs,
rinse before introducing it into a different dye color.
The dye will rub off the eggs, if they're handled too much
before they've had time to cure.
Rather than purchasing new stockings, I used what was on hand.
Though the color I used was neutral, it was still hard to tell
when the dye was the color I wanted.
I think white stockings might make it a tad easier
to tell when the eggs are dyed the color desired.
Being an organic gardner, I compost everything possible.
So it was an easy task to simply save the coffee grounds from several pots of coffee
to reuse to make the brown dye.
Be sure to refrigerate the coffee grounds if it will take a while
to accumulate what you need.

I'm anxious to try my hand at making dyes from other materials and finding
interesting elements from nature to create new designs.
These sites offer ideas for other materials that can be
used to create different dye colors:
Have fun and happy creating! ; )
Linking to:
Gina's Craft Link Party Parade
Bobbie's Check Me Out Saturday